
Main Courses
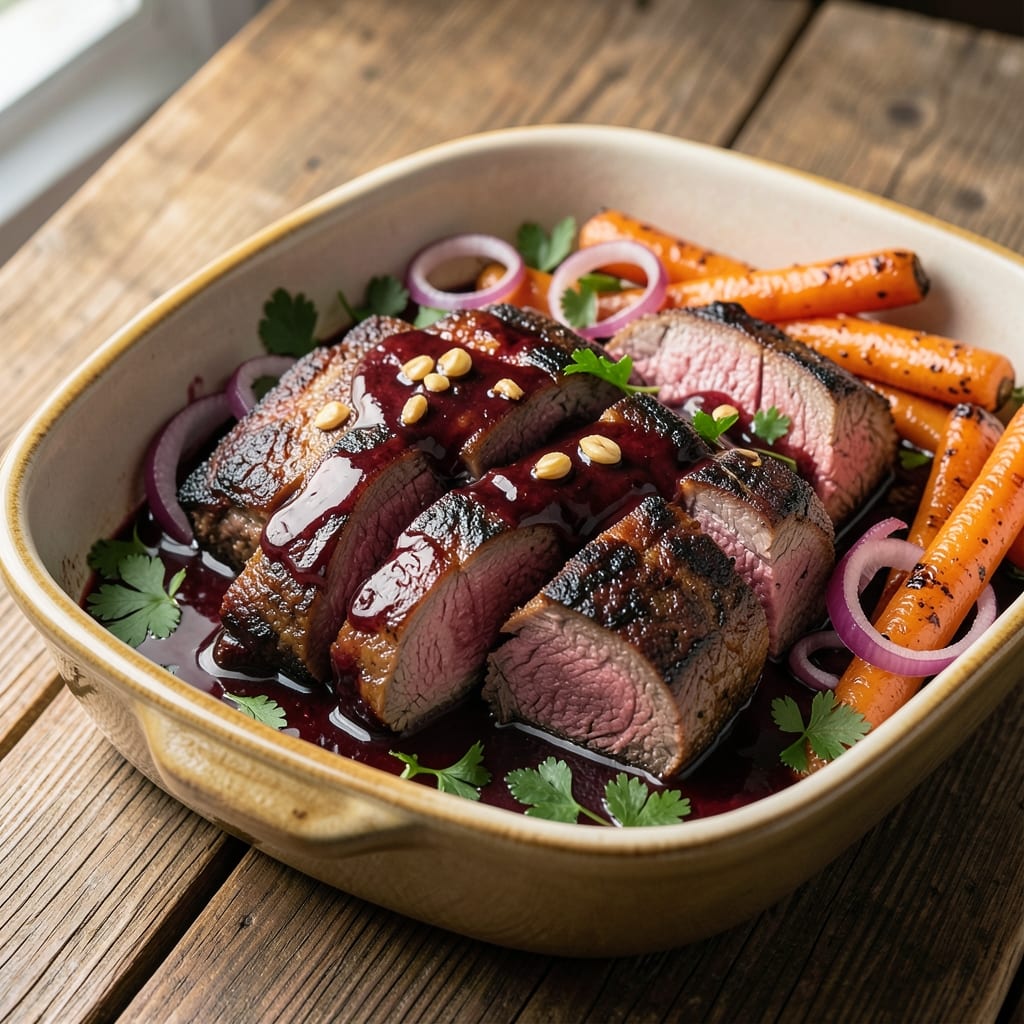
This baked beef recipe transforms tough cuts into melt-in-your-mouth perfection through slow roasting and caramelized magic. The secret lies in proper preparation—searing the meat first locks in juices while building flavor, then letting it cook low and slow until tender. I've perfected this method over years of testing, ensuring every bite delivers that ideal balance of caramelized crust and succulent interior.
What makes this recipe truly exceptional is its approachability. You don't need fancy equipment or hours of prep time—just a few simple ingredients and patience. The high-heat sear creates deep flavor while preventing dryness, and the slow oven finish ensures even cooking. This method works beautifully with chuck roast, brisket, or even short ribs, making it versatile for any occasion.
By the time you pull this beef from the oven, you'll have a dish that's richly flavorful with a caramelized exterior that practically falls apart. The meat stays incredibly juicy thanks to the searing technique, and the slow cooking process develops complex, savory notes. Serve with your favorite sides for a meal that feels special without requiring restaurant-level effort.
Whether you're preparing for a family gathering or simply treating yourself to a Sunday dinner, this baked beef delivers restaurant-quality results at home. The technique is foolproof once you understand the key steps, and the reward is worth every minute of waiting. Let's get started on creating your perfect baked beef.
Ingredients for baked beef
Juicy chuck roast, aromatic vegetables, and bold flavors transform into melt-in-your-mouth perfection through slow roasting.
| Ingredient | Amount | Notes |
|---|---|---|
| Chuck Roast 🥩 | 3 lb | Well-marbled for juiciness |
| Yellow Onion 🧅 | 1 whole | Cut into large chunks |
| Carrots 🥕 | 4 whole | Peeled and halved lengthwise |
| Garlic Cloves 🧄 | 6 cloves | Smashed but not minced |
| Beef Broth 💧 | 2 cups | Low-sodium preferred |
| Red Wine 🍷 | 1 cup | Bold dry variety like Cabernet |
| Tomato Paste 🍅 | 2 tbsp | Smooth, not chunky |
| Olive Oil 🫒 | 2 tbsp | Extra-virgin for richness |
| Fresh Thyme 🌿 | ¼ cup | Stems removed, chopped |
| Fresh Rosemary 🌿 | ⅛ cup | Needles only, chopped |
| Salt 🧂 | 1 ½ tsp | Diamond Crystal preferred |
| Black Pepper 🌶️ | 1 tsp | Freshly cracked |
| Balsamic Vinegar 🍶 | 1 tbsp | For finishing touch |
The chuck roast is the star here—look for well-marbled cuts at your local butcher or grocery store's meat counter. Costco and Whole Foods often carry premium options, but the standard supermarket chuck works perfectly if it's fresh. Trim any excess fat if you prefer less grease, but leave some marbling for flavor. Fresh herbs make all the difference: grab thyme and rosemary from the grocery store's produce section, ideally within a week of purchase. For the wine, any bold, dry red like Cabernet or Merlot will do—whatever's open in your fridge works just fine.
No red wine? Substitute beef broth with a splash of balsamic vinegar for depth. Fresh thyme and rosemary can be swapped for dried versions at one-third the amount, but fresh is ideal. The tomato paste can be replaced with crushed tomatoes (1/2 cup) if you prefer a chunkier sauce. For a richer finish, add 1 tbsp of butter during the last 30 minutes of cooking. The carrots and onions can be swapped for potatoes or celery root if you're feeling adventurous—just adjust cooking time slightly.
Prep ahead to save time: chop all vegetables and measure spices the night before. The beef can be seared up to 24 hours ahead and refrigerated, then proceed with baking. Store leftovers in an airtight container for 4-5 days in the fridge, or freeze for up to 3 months. This dish reheats beautifully—just add a splash of beef broth to keep it moist. Portion into individual containers for easy lunches, or freeze in single servings for quick meals.
Why You'll Love This Recipe
- Deep, Slow Magic: That chuck roast? When baked low and slow, it turns melt-in-your-mouth tender while the garlic and onions caramelize into something rich and savory. Honestly, the aroma alone makes my kitchen feel like a restaurant.
- Leftovers That Don’t Suck: Between us, most beef recipes leave you with dry, sad leftovers. Not this one—the broth keeps it juicy for days, so I can reheat it for sandwiches or toss it into pasta without a second thought.
- Budget Meal for Crowds: A single chuck roast feeds my whole family (plus a couple of neighbors) for under $20. Throw in some potatoes or bread, and you’ve got a filling, hearty meal that won’t break the bank.
Step-by-step instructions for slow-roasted chuck roast
Let's create melt-in-your-mouth beef with rich, caramelized flavors that'll impress anyone at your table.
Sear the Chuck Roast for Maximum Flavor
Preheat your oven to 300°F for the slow cooking phase, but we'll start with a sear on the stovetop. Heat 2 tablespoons olive oil in a Dutch oven over medium-high heat until shimmering. Pat the 3 lb chuck roast completely dry with paper towels—this ensures maximum browning.
Place the roast in the Dutch oven, fat-side down first, and let it sear undisturbed for 5 minutes until a deep golden brown crust forms. Flip carefully and sear the other side for another 5 minutes. This initial sear locks in juices and builds the foundation for that incredible caramelized crust we're after.
While the roast sears, prepare your aromatics by chopping the 1 whole yellow onion into large chunks, peeling and halving the 4 whole carrots lengthwise, and smashing the 6 cloves garlic with the side of your knife. Remove the roast from the Dutch oven and set it aside on a plate.
Build the Flavor Base with Vegetables and Herbs
In the same Dutch oven, add the chopped yellow onion, carrots, and garlic cloves. Cook over medium heat for 8-10 minutes, stirring occasionally, until the vegetables soften and begin to caramelize. You'll notice the onions turn translucent and the carrots develop a slight golden color—this sweetness will complement the beef beautifully.
Add the 2 tablespoons tomato paste and stir to coat the vegetables. Cook for another 2 minutes until it darkens slightly and the raw tomato flavor mellows. This step creates a rich, umami-packed base that'll infuse the beef during the long cook.
Return the seared chuck roast to the Dutch oven and spoon any accumulated juices from the plate over the top. Sprinkle with 0.25 cup chopped fresh thyme, 0.125 cup chopped fresh rosemary, 1.5 teaspoons salt, and 1 teaspoon black pepper. Stir everything together gently to distribute the herbs and seasonings evenly.
Deglaze and Simmer the Roast
Pour in the 1 cup red wine and scrape up any browned bits from the bottom of the Dutch oven with a wooden spoon. These bits, called fond, are packed with flavor that'll dissolve into the wine. Let the mixture simmer for 3-4 minutes until the wine reduces by half and becomes slightly syrupy.
Add the 2 cups beef broth and bring the liquid to a gentle simmer. The liquid should come about halfway up the sides of the roast. Here's the key: cover the Dutch oven with a tight-fitting lid and transfer it to your preheated 300°F oven. This low-and-slow approach is what transforms tough beef into fork-tender perfection.
Let the roast cook for 2.5-3 hours until the internal temperature reaches 195-200°F. You'll know it's ready when the meat is fork-tender and pulls apart easily. The juices should run clear when you pierce the thickest part with a meat thermometer. This long cooking time breaks down the connective tissue, resulting in that melt-in-your-mouth texture we're after.
Finish with Balsamic Vinegar and Rest
Remove the roast from the oven and carefully transfer it to a cutting board. Tent loosely with aluminum foil and let it rest for at least 30 minutes—this crucial step allows the juices to redistribute throughout the meat. While it rests, skim any excess fat from the cooking liquid in the Dutch oven.
Return the Dutch oven to the stovetop over medium heat and add the 1 tablespoon balsamic vinegar. Simmer for 2-3 minutes until the liquid reduces slightly and becomes glossy. This final step adds a touch of tangy sweetness that balances the rich beef flavors perfectly.
Slice the chuck roast against the grain into ¼-inch thick slices and serve with the reduced cooking sauce spooned over the top. Each bite should deliver that perfect combination of tender beef, caramelized vegetables, and aromatic herbs. The sauce should coat the meat beautifully, enhancing rather than overwhelming the natural flavors of the beef.
Pro Tips For Making Baked Beef
- SEAR THE ROAST FIRST: Skip the slow start—hit the chuck roast with a quick sear in a hot Dutch oven for 3-4 minutes per side before baking. The crust locks in flavor and keeps the meat from drying out later, even if you forget to baste. (Yes, even if you’re impatient like me.)
- CHOP ONIONS COARSELY: Thinly sliced onions disappear into mush—cut them into ½-inch chunks so they stay intact and caramelize properly. Big pieces also hold up better during the long bake, giving you actual texture instead of a watery broth.
- USE COLD BROTH: Pour cold beef broth over the roast and veggies before baking—it prevents a sudden steam explosion that can make the oven too humid early on. The broth will warm up gradually, keeping the carrots from turning to mush.
- TEST DONENESS WITH A THERMOMETER: Chuck roast needs 195°F internal temp to melt like butter, not 160°F. I learned this the hard way—overcooked beef is dry, but undercooked beef is tough. Pull it when the thermometer hits the mark, then let it rest 15 minutes before slicing. (Your knife will thank you.)
Essential equipment for this recipe
Dutch Oven Essentials
A Dutch oven is your secret weapon for this recipe—I swear by my Le Creuset 6-quart for even heat distribution and durability. Look for one with a tight-fitting lid to trap moisture during the long cook. If you don't own one, a heavy-bottomed pot like All-Clad works in a pinch, though it may not caramelize as beautifully. The deep sides help contain the sauce while the beef cooks. 🔥
Meat Thermometer Must-Have
Never guess your beef's doneness again! A meat thermometer is non-negotiable for perfect results. I recommend ThermoWorks Smoke for its instant-read accuracy and durable probe. Insert it into the thickest part of the roast to monitor the 195-200°F target range. Cheaper models like OXO Good Grips work too—just calibrate it first by boiling water and checking against a known accurate thermometer.
Cutting Board & Knife
Use a sharp chef's knife (I love Wüsthof's 8-inch) and a large cutting board (like John Boos 12x18-inch) for slicing. The knife should glide through the rested beef with minimal effort. A meat mallet (optional but helpful) tenderizes the roast before slicing if you prefer thicker cuts. For prep work, a smaller board (8x12-inch) handles the vegetables perfectly while keeping your workspace organized.
Slow Cooker Alternative
Short on oven space? A 6-quart slow cooker (like Hamilton Beach) works wonders—just sear the beef separately, then transfer everything to the slow cooker on Low for 8 hours or High for 5 hours. The lid stays on tight, mimicking the Dutch oven's moisture trap. For extra flavor, add a splash of red wine to the slow cooker after searing. The texture won't be identical, but it's a game-changer for busy weeknights. ⏰
Resting Tools
After removing the beef, tent it loosely with heavy-duty aluminum foil (like Reynolds Wrap) to keep it warm while juices redistribute. A wire cooling rack (placed over a baking sheet) elevates the roast for even airflow. For serving, I use wooden serving boards (like West Elm's Acacia) to add rustic charm while keeping the beef warm. Avoid glass plates—they conduct heat too quickly and can make the beef cool faster.
Nutrition facts
Frequently asked questions
What's the best cut of beef for baking?
For this recipe, chuck roast is ideal because its marbling and connective tissue create melt-in-your-mouth tenderness when slow-cooked. Brisket and short ribs also work beautifully, though they may require slightly longer cooking times. Avoid lean cuts like sirloin—they'll dry out during the long bake.
Why does the recipe specify resting the beef?
Resting for at least 30 minutes after baking is crucial—it allows the juices to redistribute throughout the meat instead of pooling on your plate. When you slice immediately, all that delicious moisture escapes, leaving you with dry beef. Think of it like letting a cake cool before cutting!
Can I use a different oven temperature?
The 300°F setting is perfect for even cooking, but you can adjust slightly: 275°F for extra tenderness (add 1 hour) or 325°F for faster results (reduce by 30 minutes). Never exceed 350°F—higher temps will dry out the meat. A meat thermometer is your best friend for tracking doneness!
What if my beef isn't tender enough?
If your beef feels tough after the initial bake, don't panic! Return it to the oven at 300°F for another 30-60 minutes with extra liquid (beef broth or red wine). The key is patience—connective tissue needs time to break down. For extra help, slice against the grain before serving to shorten the muscle fibers.
How can I make this meal more special for guests?
Elevate your presentation by serving the beef on a wooden board with the reduced sauce drizzled artistically. Pair with creamy mashed potatoes, roasted root vegetables, and a crisp green salad. For a restaurant touch, garnish with fresh rosemary sprigs and a sprinkle of flaky sea salt. The aroma alone will impress!